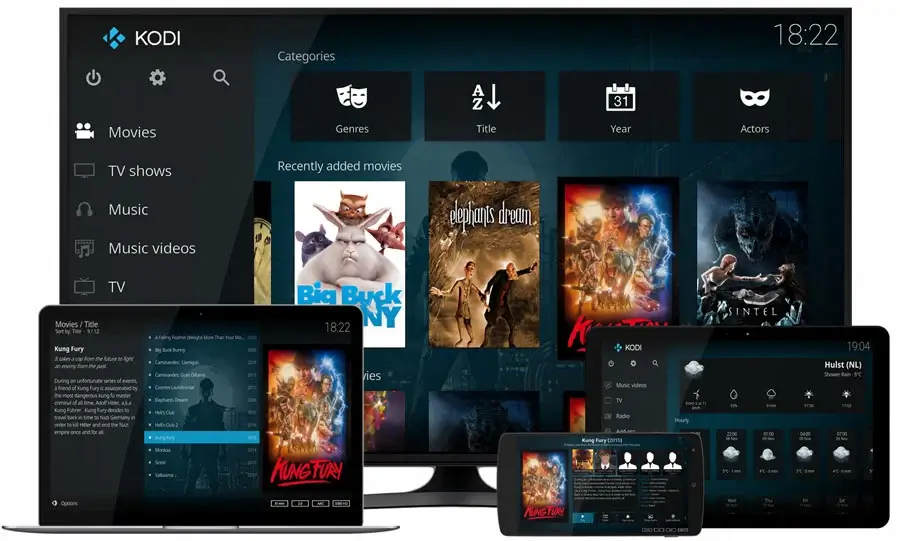
Kodi is a free and open-source media server application that transforms your Linux system into a full-fledged entertainment center.
It lets you organize, play, and view your entire collection of movies, music, TV shows, and even photos, all from one user-friendly interface.
In addition to your videos and music, you can also use Kodi to watch YouTube, Netflix, Hulu, Prime Video, and more.
Whether you’re a movie buff, a music enthusiast, or just someone who enjoys having all their media neatly organized, Kodi is a great option for Linux users.
In this guide, we’ll walk you through the process of installing Kodi on Ubuntu-based Linux distributions.
Installing Kodi on Linux
Before installing Kodi, it’s a good idea to update your Linux system to ensure you have the latest software packages.
sudo apt update -y
sudo apt upgrade -y
Once your system is up to date, you can install Kodi from the official software repositories using the following apt command.
sudo apt install kodi
To get the latest version of Kodi, you can use the official PPA repository of Kodi as shown.
sudo apt install software-properties-common
sudo add-apt-repository -y ppa:team-xbmc/ppa
sudo apt install kodi
Keep in mind that if you have any add-ons (like PVR clients), you’ll need to update them separately as shown.
sudo apt install kodi-pvr-mythtv
After the installation is complete, you can launch Kodi from the applications menu or by running the following command in the terminal.
kodi

Removing Kodi from Ubuntu
To remove Kodi from Ubuntu, you can use the following command in the terminal.
sudo apt remove kodi
sudo add-apt-repository --remove ppa:team-xbmc/ppa
The above commands, will uninstall Kodi and remove PPA from your system.
Conclusion
Kodi is a handy media center tool that turns your Linux computer into an all-in-one entertainment hub. It’s easy to install, has a user-friendly interface, and offers lots of features.


