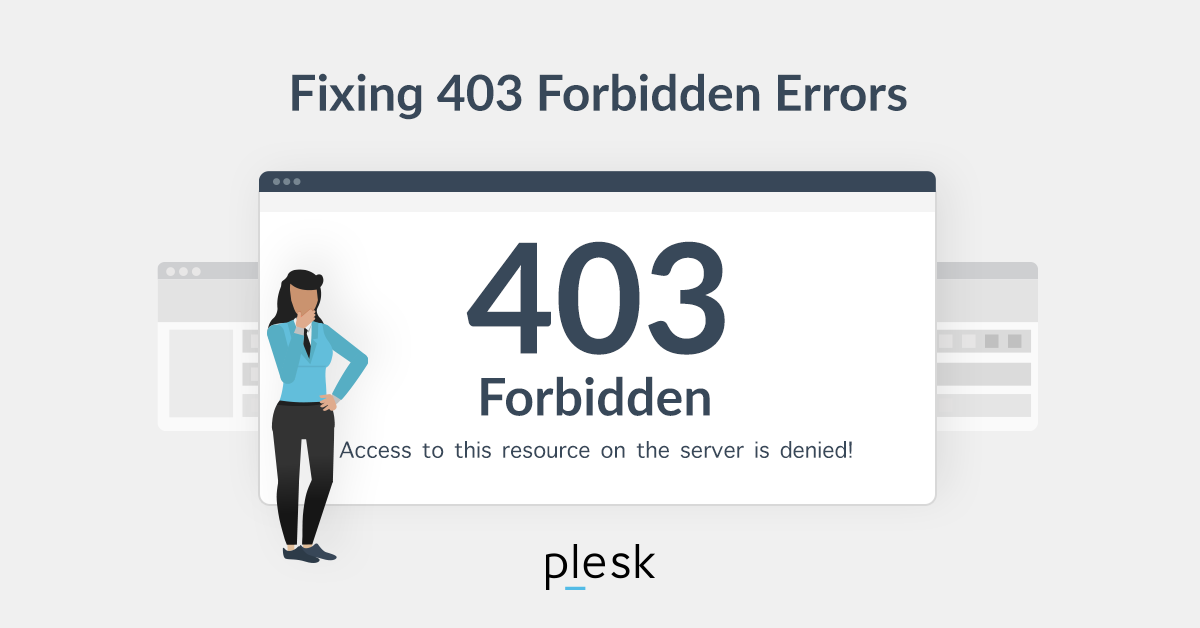
Does the term ‘403 forbidden’ seem familiar? It’s not just tech jargon; it’s a significant roadblock that can hinder your website’s performance. As a website owner, encountering this error can be particularly frustrating, especially when it restricts access to crucial areas of your site.
Wondering why this happens? Most websites are set up to prevent unauthorized access to sensitive files and directories, often resulting in the dreaded 403 Forbidden error.
However, this error could lead to lost traffic and, consequently, missed business opportunities.
It´s clear that if you or users run into a 403 forbidden error on your website, you need to fix it. However, as there are various causes for a 403 forbidden error, you have more than one solution to consider, and it can become overwhelming.
In this comprehensive guide, we’ll explore everything you need to know about 403 forbidden errors, from understanding root causes to implementing effective solutions. Let´s dive in and tackle the 403 Forbidden error head-on!
What Does the 403 Forbidden Error Mean?
The HTTP status code ‘403 forbidden—you don’t have permission to access this resource’ is displayed when a web server recognizes a user’s request but is unable to allow additional access. This error typically occurs due to insufficient permissions or authentication credentials on the server side.
What Causes the 403 Forbidden Error?
HTTP 403 forbidden errors are typically triggered by a client-side setup issue, so you should be able to fix it independently. One of the most common reasons for a 403 forbidden error is the settings for a specific folder or file. These determine which users can read, write, or execute that folder or file.
In this case, the site owner may have:
- Changed the settings and denied you from accessing the relevant resources.
- Failed to put the proper permissions in place.
Another common cause is the htaccess file settings, which may simply be wrong or (less simply) corrupt. This could occur after a file has been changed. Fortunately, you can fix this problem in an easy way — just create a new server configuration file.
Other possible causes of a 403 forbidden error include:
- Incorrect IP address: A domain name directs to an incorrect or outdated IP address hosting a site that prevents you from gaining access.
- Issues with a WordPress plugin: WordPress plugins that are incompatible with other plugins or set up incorrectly.
- New link to page: A site owner updates a page’s link, which differs from the version that has been cached.
- Malware: Malware infections can lead a .htaccess file to be in a state of ongoing corruption, so you would need to get rid of the infection before completing a file restoration.
- No index page: Your site’s homepage isn’t named ‘index.php’ or ‘index.html’.
Any of these causes may be responsible for your site’s 403 forbidden error.
Try These Techniques to Solve Your 403 Forbidden Error
The techniques we’ll explore below focus primarily on 403 forbidden errors associated with file access permissions. But alternative options, including malware scans and emptying your browser’s cache, could also fix the problem.
And while we focus on WordPress websites, you can apply our solutions to different types of sites too.
1. Assess the .htaccess File for Signs of Corruption
The .htaccess file usually remains inside the site’s document root..
Are you using cPanel or Plesk? First, find the File Manager, open the site’s document root directory, then search for the .htaccess file. Not there? In case of cPanel tap ‘Settings’ in the top-right area of the screen, then turn on the ‘Show Hidden Files (dotfiles)’ setting.
The .htaccess file primarily works by adjusting the settings for Apache Web Server, as it’s a server configuration file. But while you’ll find this file on the majority of sites by default, you have to manually make a new file if your site lacks one or it has been accidentally deleted.
In any case, when you find the file, take the following steps to find out whether the 403 forbidden error has been caused by an incorrect configuration:
- Right-click on the file then tap ‘Download’ to make a backup.
- Delete the file.
- Try to access your site — if you can get into it, it’s safe to say that the file was corrupted.
- If you want to make a new .htaccess file, sign in to your WordPress dashboard then click on the ‘Settings’ option followed by ‘Permalinks’.
- Tap the ‘Save Changes’ button without making changes.
Completing these steps will create a new .htaccess file for your site. But if this process fails to fix the problem, move on to our next technique.
2. Reset Permissions for the File and Directory
Incorrect file or folder permissions could be causing your HTTP 403 issue.
New files carry certain default permissions that determine how you read, write, and execute them. But you can edit permissions for files and folders with FTP. To get started:
- Set up an FTP client and connect it to your site.
- Right-click ‘publichtml’ after connecting the FTP client, then select ‘File Attributes’.
- Input permission ‘755’ in the ‘Numeric value’ field, choose ‘Apply to directories only’, then press ‘ok’.
Generally, with regards to file permission numeric values, ‘755’ relates to folders, ‘644’ relates to static content, while ‘700’ relates to dynamic content.
Next, once you have adjusted your folder permissions, repeat the second and third steps above — but use ‘644’ in the ‘Numeric value’ field instead. Then, click on ‘Apply to files only’.
After you complete these steps, try to access your site to find out if you have fixed the problem.
3. Deactivate Plugins for WordPress
It’s likely that your 403 forbidden error is caused by a plugin which is faulty or simply incompatible if neither of the previous techniques have worked for you. So, we’ll explore how to disable plugins to discover if they’re behind the error.
Before we begin, though, we want to recommend that you disable all of the plugins at the same time rather than disabling them one by one.
Follow these steps:
- Use FTP to get into your hosting account, or use the file manager in your hosting account, and navigate to the public_html -> wp-content folder.
- Find the ‘plugins’ folder.
- Change the folder’s name to something simple and relevant, such as ‘plugins-disabled’, to disable all of the plugins.
Next, try to access your site — if you don’t see the error again, the problem will have been caused by a plugin which is no longer active.
Change the folder name back to ‘plugins’, then disable one plugin at a time and see if the site continues to run properly. This will make it easy to identify the plugin causing the problem.
Either update or delete the plugin when you find it. But if the 403 forbidden error continues to appear, get in touch with your hosting provider for further help.
4. Index Page Uploading
Take a look at the name of your site’s homepage: it should be &lsquoindexphp’ or index.html’. Otherwise, you have two options to consider.
One possibility is to name your homepage either ‘index.php’ or ‘index.html’ instead. Alternatively, if you would prefer to retain the current name, just upload an index page to your public_html directory then set up a redirect to your present homepage.
Sounds good? Follow these steps:
- Use FTP or the file manager in your hosting account to upload an index.php or index.html file to your public_html directory.
- Find the .htaccess file and open it.
- Enter this snippet of code to start redirecting the index.php or index.html file to your present homepage:
Redirect index.html /myhomepagehtml
And make sure you swap ‘nyhomepage.html’ with the actual page name.
5. Reconfigure Ownership of the File
Do you use VPS or Linux web hosting? Improper file ownership could be causing your 403 forbidden error problem.
Folders and files may be assigned to a specific Group, Owner, or even both. However, you’ll require SSH access to change ownership within these environments, as well as an SSH terminal for connecting to the VPS.
Use the following SSH command to assess ownership after you connect SSH to your site’s server:
ls -1 [file name]
You should see this (or something similar):
-rwxrw-rw- 1 [owner][group] 20 Jul 22 12:00 filename.txt
Focus on the owner and group elements: the username for your hosting account will be the proper ownership. If the ownership is different, enter the following chown Linux command to change that:
chown [owner][:group] [file name]
6. Check Your A Record
Another potential reason for your 403 forbidden error is that your domain name is pointing to the incorrect IP address, where you lack permission to view the site’s content. To get around that, verify that your domain name is pointing to the right IP address.
Your domain could still point to your previous web host if you have migrated to a new one and forgot about updating your nameservers. A 403 error status code will be triggered when your previous host terminates your account.
7. Run a Malware Scan
Your 403 error may be due to malware: your WordPress website may continually add unwanted code to the .htaccess file after becoming infected. The 403 error will continue even if you fix the file using our first suggested method.
So, run a scan of your site to find malware using a WordPress plugin like Wordfence or Sucuri. Most security plugins for WordPress can get rid of malware: you’ll be presented with various options when the plugin locates the infection, such as restoring or deleting the affected files.
Another way to restore your site is to use backup files or, if you’re missing a full backup of the necessary files, a database backup.
8. Empty Your Cache
Our final recommended technique for fixing your 403 forbidden error involves the cache and cookies in your browser. The cache retains data to help websites load more quickly next time you go back to it. But the real page link could be different from the cached one if a site has been updated.
Additionally, cookies may trigger an error too. That could be the case if you see the error when trying to sign in to a site that you log into frequently.
Fortunately, clearing out both the cache and cookies in your chosen browser could solve the problem. But be prepared: emptying the cache could cause a site to run more slowly the next time you visit it, as the browser will request the site’s files again. Also, emptying your cookies will log you out of any sites that you’re currently signed in to.
If you use Google Chrome, take the following steps to clear out your cache and cookies:
- Tap the ellipsis icon in the top-right area of the screen, then click on ‘Settings’.
- Locate the ‘Privacy and security’ section, then tap the ‘Clear browsing data’ button.
- Choose the data-deletion time period via the drop-down menu, then select both ‘Cookies and other site data’ and ‘Cached images and files’.
- Tap the ‘Clear data’ button to proceed.
After finishing all four steps, go back to your site and sign in if necessary. Hopefully, the 403 forbidden error will be solved!
Conclusion
403 forbidden errors are not just annoying; they can hinder the user experience and negatively impact your website traffic. They typically stem from file permission issues, though glitchy plugins and malware infections could be responsible too.
Understanding the causes and implications of this error is essential for website owners to effectively troubleshoot and address any issues that may arise, ensuring a seamless and secure online experience for their users. The eight techniques for solving 403 errors explored in this guide should help you get your site running properly again.
However, there are plenty of HTTP error codes, and 403 forbidden is just one of them. Website owners may face client- and server-side errors, including 404 and 504 gateway timeouts.
By familiarizing yourself with common error codes and their underlying causes, you´ll be better equipped to troubleshoot issues as they arise. This proactive approach will ensure improved user experience and increased credibility of your online presence.


