While modern IT applications have come a long way in making business operations easier, the same degree of simplicity doesn’t extend to backend application development. Instead, developers have to deal with different frameworks, various APIs, and a multitude of dependencies to get their everyday programs to work.
But how do they manage all that? Kubernetes.
Kubernetes, a container orchestration platform developed by Google, takes much of the complexity out of the equation by letting the developer package the applications and their dependencies together so they can run everywhere, irrespective of the environment.
In this guide, we’ll explore how you can set up Kubernetes on bare metal servers to get even more benefits out of Kubernetes.
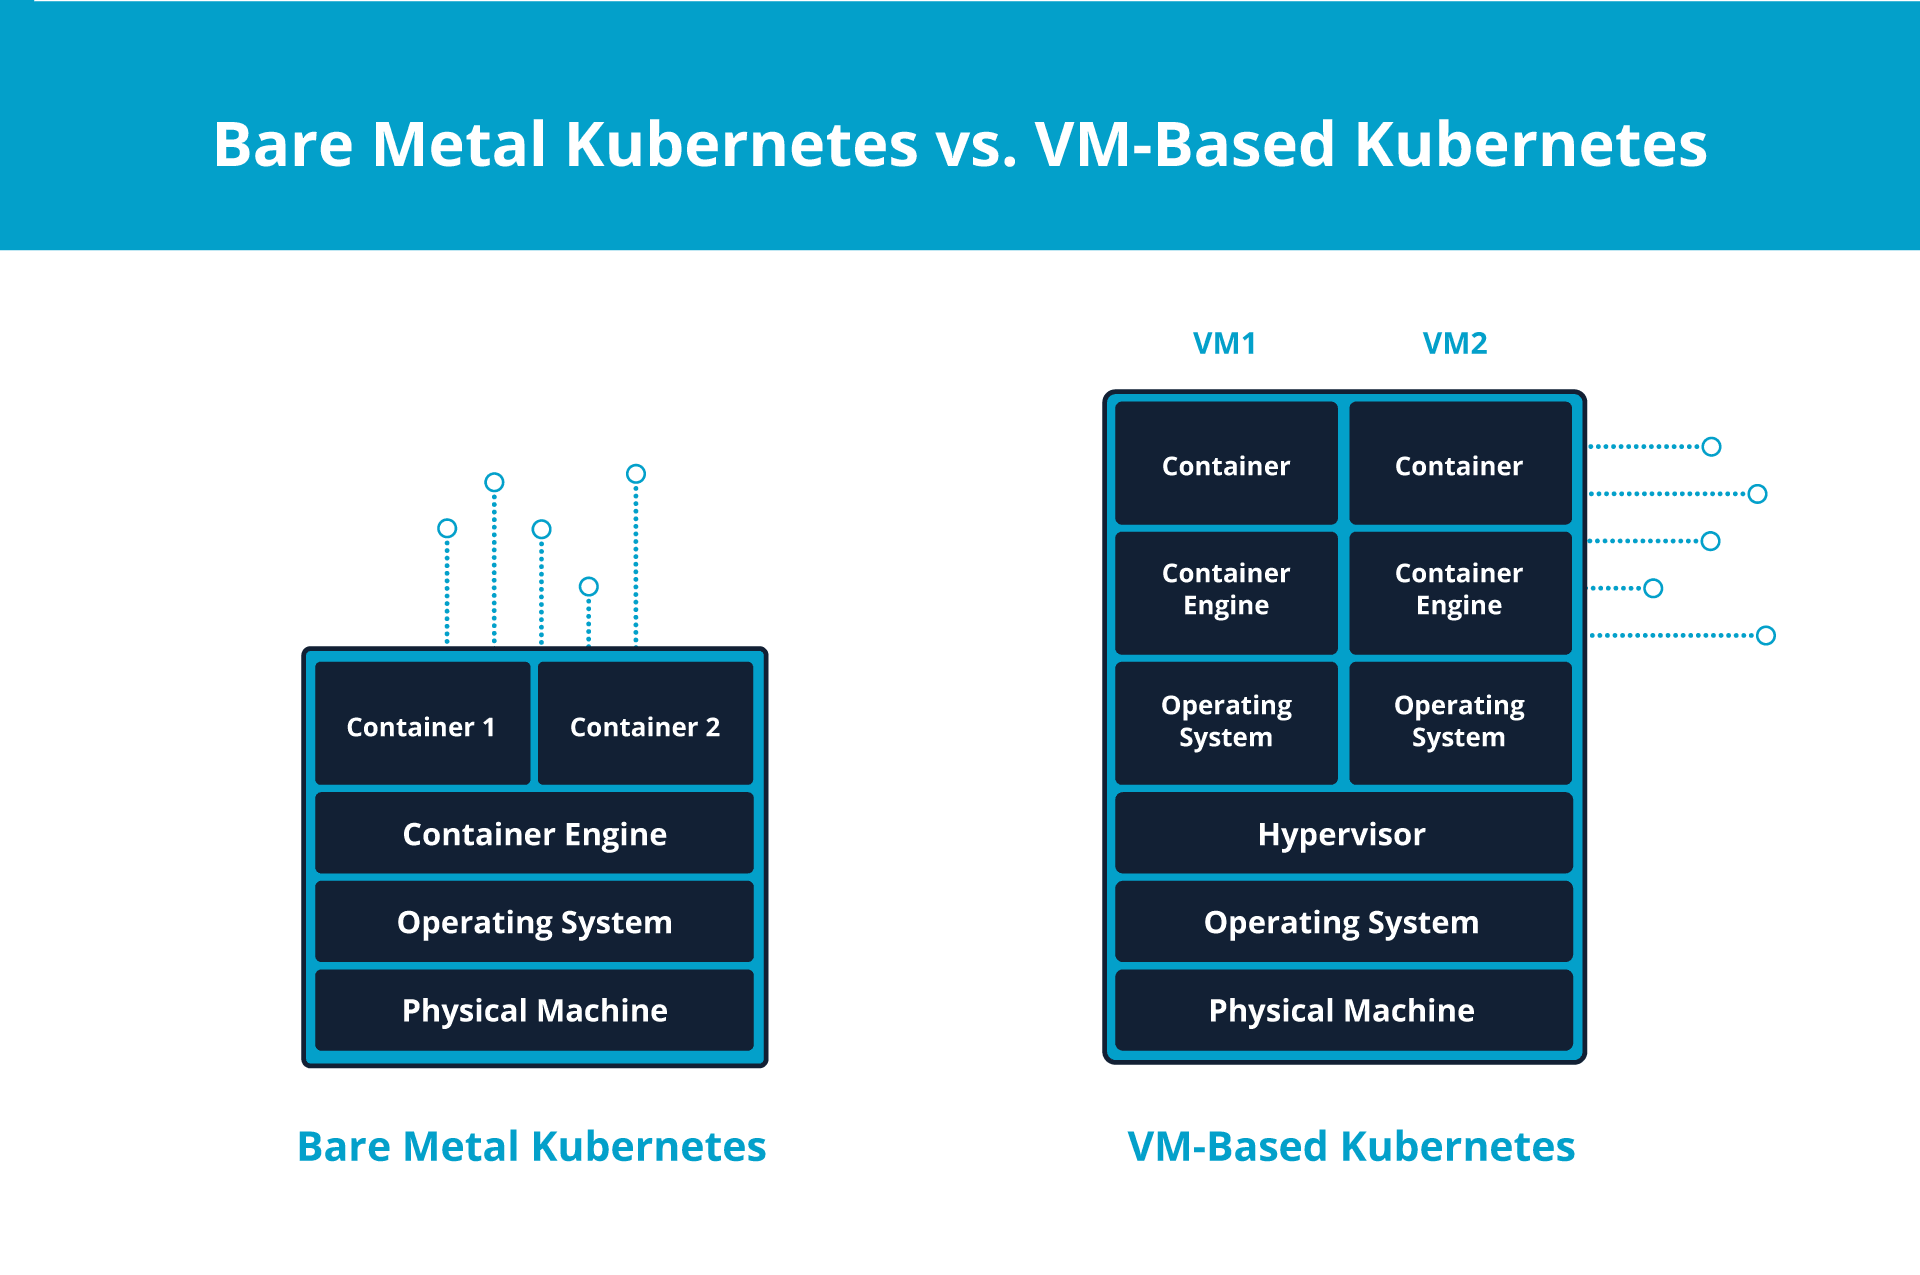
Bare metal Kubernetes refers to the deployment of Kubernetes, an open-source container orchestration platform, on a bare metal server. In other words, you run the Kubernetes directly on top of the physical hardware without any hypervisor layer.
Bare metal Kubernetes differs from the traditional VM-based Kubernetes, which is deployed on a virtual machine. Due to its direct deployment on physical hardware, it consumes fewer resources, has lower fees, and offers more management control.
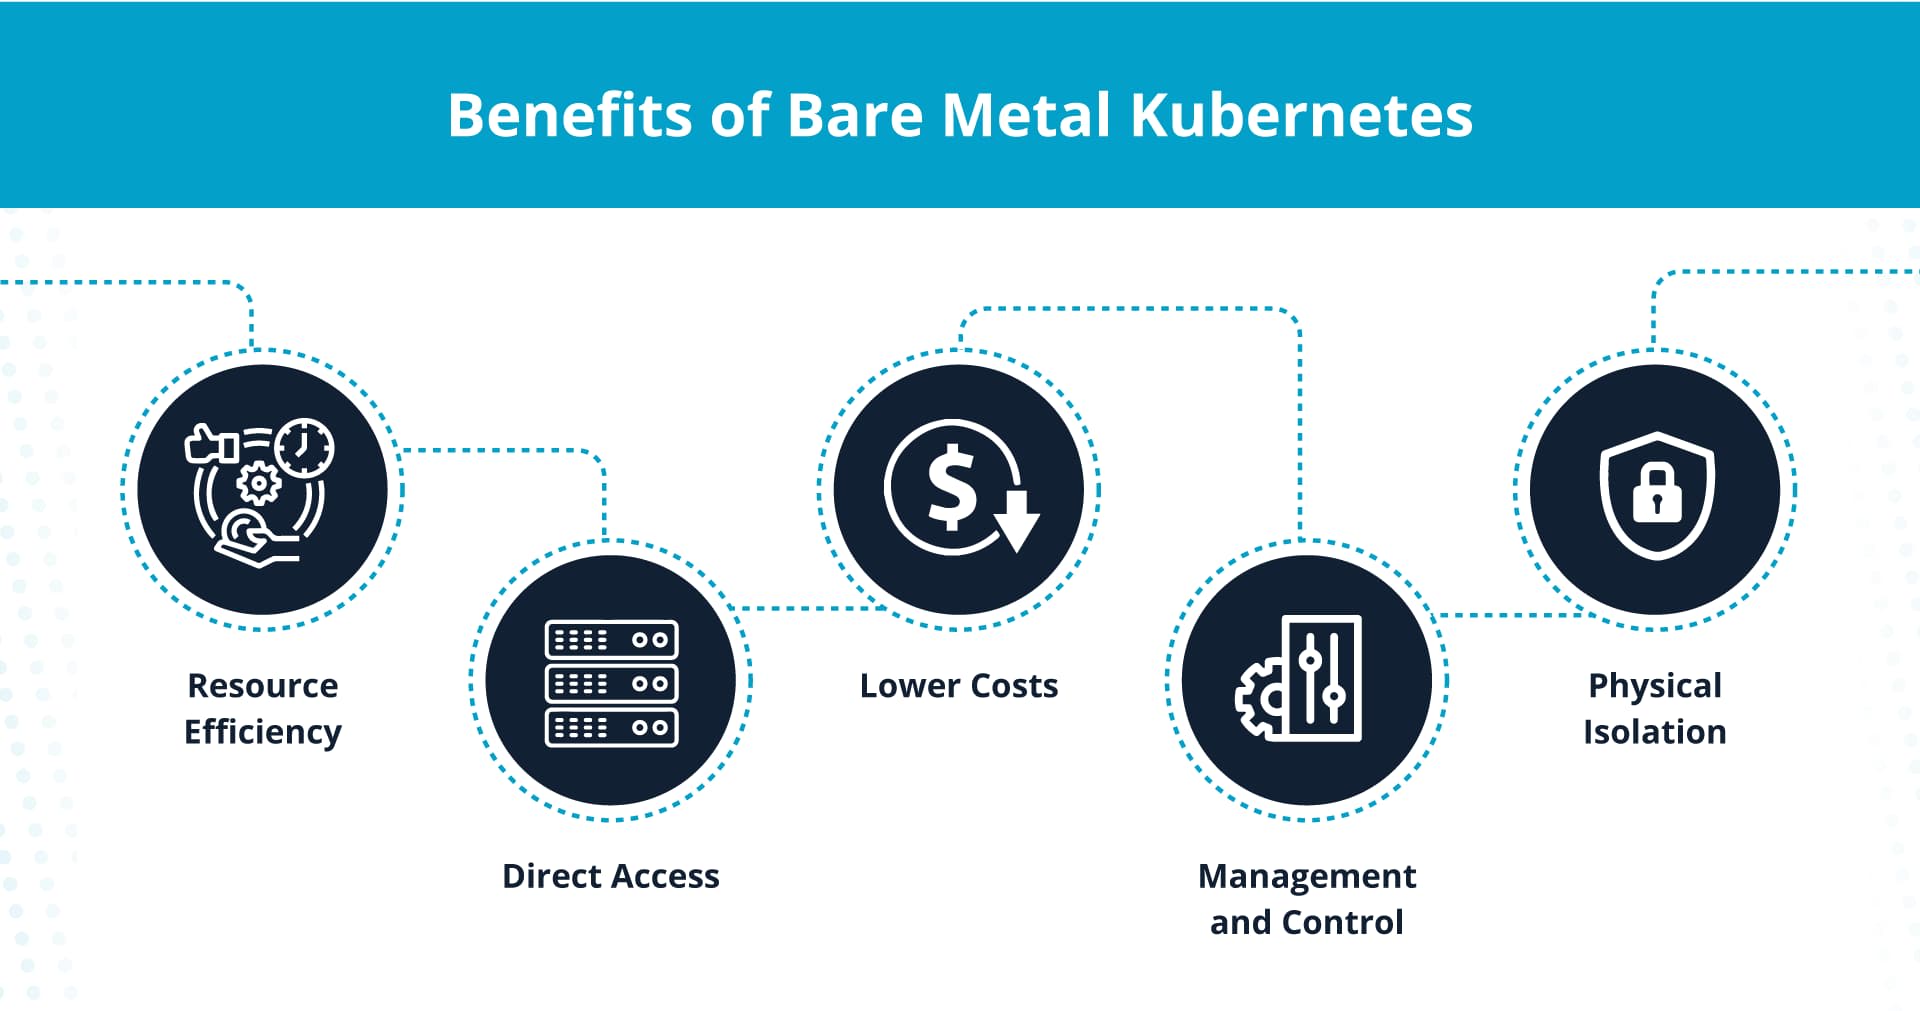
Due to the direct access to hardware resources, bare metal Kubernetes offers several benefits.
Resource efficiency
Without the virtualization layer, bare metal Kubernetes has access to all the hardware resources, including CPU, RAM, and storage. It’s no longer working with a limited capacity because of a virtualization overhead.
So, if you have small form-factor hardware, you can rely on bare metal Kubernetes to run your development operations without giving your precious resources to a virtualization layer.
Direct access
Bare metal Kubernetes has direct access to the physical hardware without an intermediary virtualization layer. As a result, it can be instrumental in performing low-latency tasks — where you need a quick response.
Similarly, bare metal Kubernetes can also make better use of connected graphic processing units (GPUs) than VM-based Kubernetes due to its direct integration.
Lower costs
The absence of virtualization also means you don’t have to deal with the licensing costs of virtualization technologies — which means saving hundreds or even thousands of dollars.
Plus, if you specifically pay for backend-managed services, you don’t have to incur those expenses, either.
Management and control
Bare metal Kubernetes gives you more control over the ecosystem, as you have full access to the server’s complete configuration. You no longer deal with a black box in the shape of virtualization software.
Besides that, you can configure your own network settings, security protocols, and access restrictions without worrying about virtualization-specific issues.
Physical isolation
If you’ve ever undergone a security audit, you’ll know that the best way to breeze through it is to get a physical server and keep it locked away in a basement.
Bare metal Kubernetes gives you a similar kind of isolation by letting you deploy your applications on a single-tenant physical server without any external interactions.

Deploying Kubernetes on a bare metal server involves checking off a few prerequisites, installing Kubernetes tools, and configuring the cluster using the terminal.
1. Set up physical machines
Before deploying Kubernetes on a bare metal server, you need to configure the physical machines:
- Install operating system: Opt for a lightweight Linux distribution model — examples include Ubuntu, CentOS, and CoreOS — and install it on your bare metal servers.
- Configure network settings: After installing the operating system, go through the network configuration and ensure each machine has a unique IP address.
- Assign hostnames: Edit hostname in etc to assign descriptive hostnames — e.g., master node, worker1, and worker2 — to each physical machine for easy management. Additionally, edit hosts to connect each hostname to its respective IP address.
At the end of this step, you’ll have the necessary operating system installed. Besides that, you’ll have a unique name for each node.
2. Install container runtime
While Kubernetes helps you run containerized applications, it does so by interacting with the container runtime to launch and manage the clusters.
If you opted for Ubuntu or CentOS, Docker is a common container runtime choice. For CoreOS, rkt (Rocket) typically serves better.
3. Disable swap
Swap is a space on the hard drive the operating system uses to temporarily store the data when the physical RAM is full. It acts as an extension of the RAM and provides a way for the operating system to offload inactive data from the RAM.
However, Kubernetes and containerized applications are optimized for fast access to physical RAM. So, you must disable swap to keep Kubernetes from relying on slower swap space.
You can disable swap by entering the following code in your terminal:
sudo swapoff -a4. Install Kubernetes tools
Now, it’s time to install Kubernetes tools on all the physical machines in your cluster. The essential tools include kubeadm, kubelet, and kubectl, which enable the creation, operation, and management of Kubernetes clusters.
Add the Kubernetes repository to the package manager so your operating system (Ubuntu, for this example) can find the necessary packages. Then, install these Kubernetes tools:
- Enter the following code to update the package lists so the operating system has access to the latest available packages and their versions for the repositories:
sudo apt-get update- Install dependencies to avoid running into issues in the next step.
sudo apt-get install -y apt-transport-https curl- Download a security key — GPG key — for the Kubernetes package from the specified URL and add it to the keyring.
curl -s https://packages.cloud.google.com/apt/doc/apt-key.gpg | sudo apt-key --keyring /usr/share/keyrings/kubernetes-archive-keyring.gpg add -- Add the Kubernetes repository to the list of package sources.
echo "deb [signed-by=/usr/share/keyrings/kubernetes-archive-keyring.gpg] https://apt.kubernetes.io/ kubernetes-xenial main" | sudo tee /etc/apt/sources.list.d/kubernetes.list- Enter the following code in the terminal to install kubeadm, kubelet, and kubectl:
sudo apt-get updatesudo apt-get install -y kubelet kubeadm kubectl5. Initialize the master node
After installing the Kubernetes tools, you can initialize the master node using kubeadm.
Enter the following code to start:
sudo kubeadm init --pod-network-cidr=CIDRThe value of “CIDR” depends on your choice of pod network. For Flannel, it’s typically 10.244.0.0/16.
So, if you’re opting for Flannel, you may enter:
sudo kubeadm init --pod-network-cidr=10.244.0.0/16After the command is complete, you’ll see an output of instructions for configuring kubectl on the master node and connecting worker nodes to the cluster.
In particular, you’ll see an output like:
kubeadm join <master-node-ip>:<master-node-port> --token <token> --discovery-token-ca-cert-hash sha256:<hash>Save this output command, as you’ll need it to connect the worker nodes to the cluster in step 8.
6. Set up kubectl on the master node
After initializing the master node, you’ll need to configure kubectl on it to facilitate its communication with the Kubernetes API.
You can do so by entering the following command in the terminal:
mkdir -p $HOME/.kubesudo cp -i /etc/kubernetes/admin.conf $HOME/.kube/configsudo chown $(id -u):$(id -g) $HOME/.kube/config7. Install a pod network add-on
To assist communication across the nodes in the Kubernetes cluster, you’ll need a pod network add-on. You can find a list of add-on options on the Kubernetes website.
After choosing an add-on, you can install it by entering the following command:
kubectl apply -f <pod-network-addon>.yamlReplace <pod-network-addon> with the URL for your chosen add-on. For instance, if you’re installing Flannel, you can enter the following command:
kubectl apply -f https://raw.githubusercontent.com/coreos/flannel/master/Documentation/kube-flannel.yaml8. Join worker nodes to the cluster
After you have initialized the master node and configured the pod network, you can add the worker nodes to the cluster.
You can do so by running the following command on each node:
sudo kubeadm join <master-node-ip>:<master-node-port> --token <token> --discovery-token-ca-cert-hash sha256:<hash>Here, you must replace <master-node-ip>, <master-node-port>, <token>, and <hash> with the values you saved at the end of step 5.
9. Verify cluster status
After adding all the worker nodes to the master node, it’s time to verify the status of the cluster.
You can do so by entering the below command in the master node:
kubectl get nodesYou should see an output with all the worker nodes and their status as “ready.”
10. Deploy applications
With the Kubernetes cluster set up, you can now deploy applications onto the cluster. For example, if you want to test with an NGINX application, you can do so by entering the following command:
kubectl create deployment nginxtest1 --image=nginx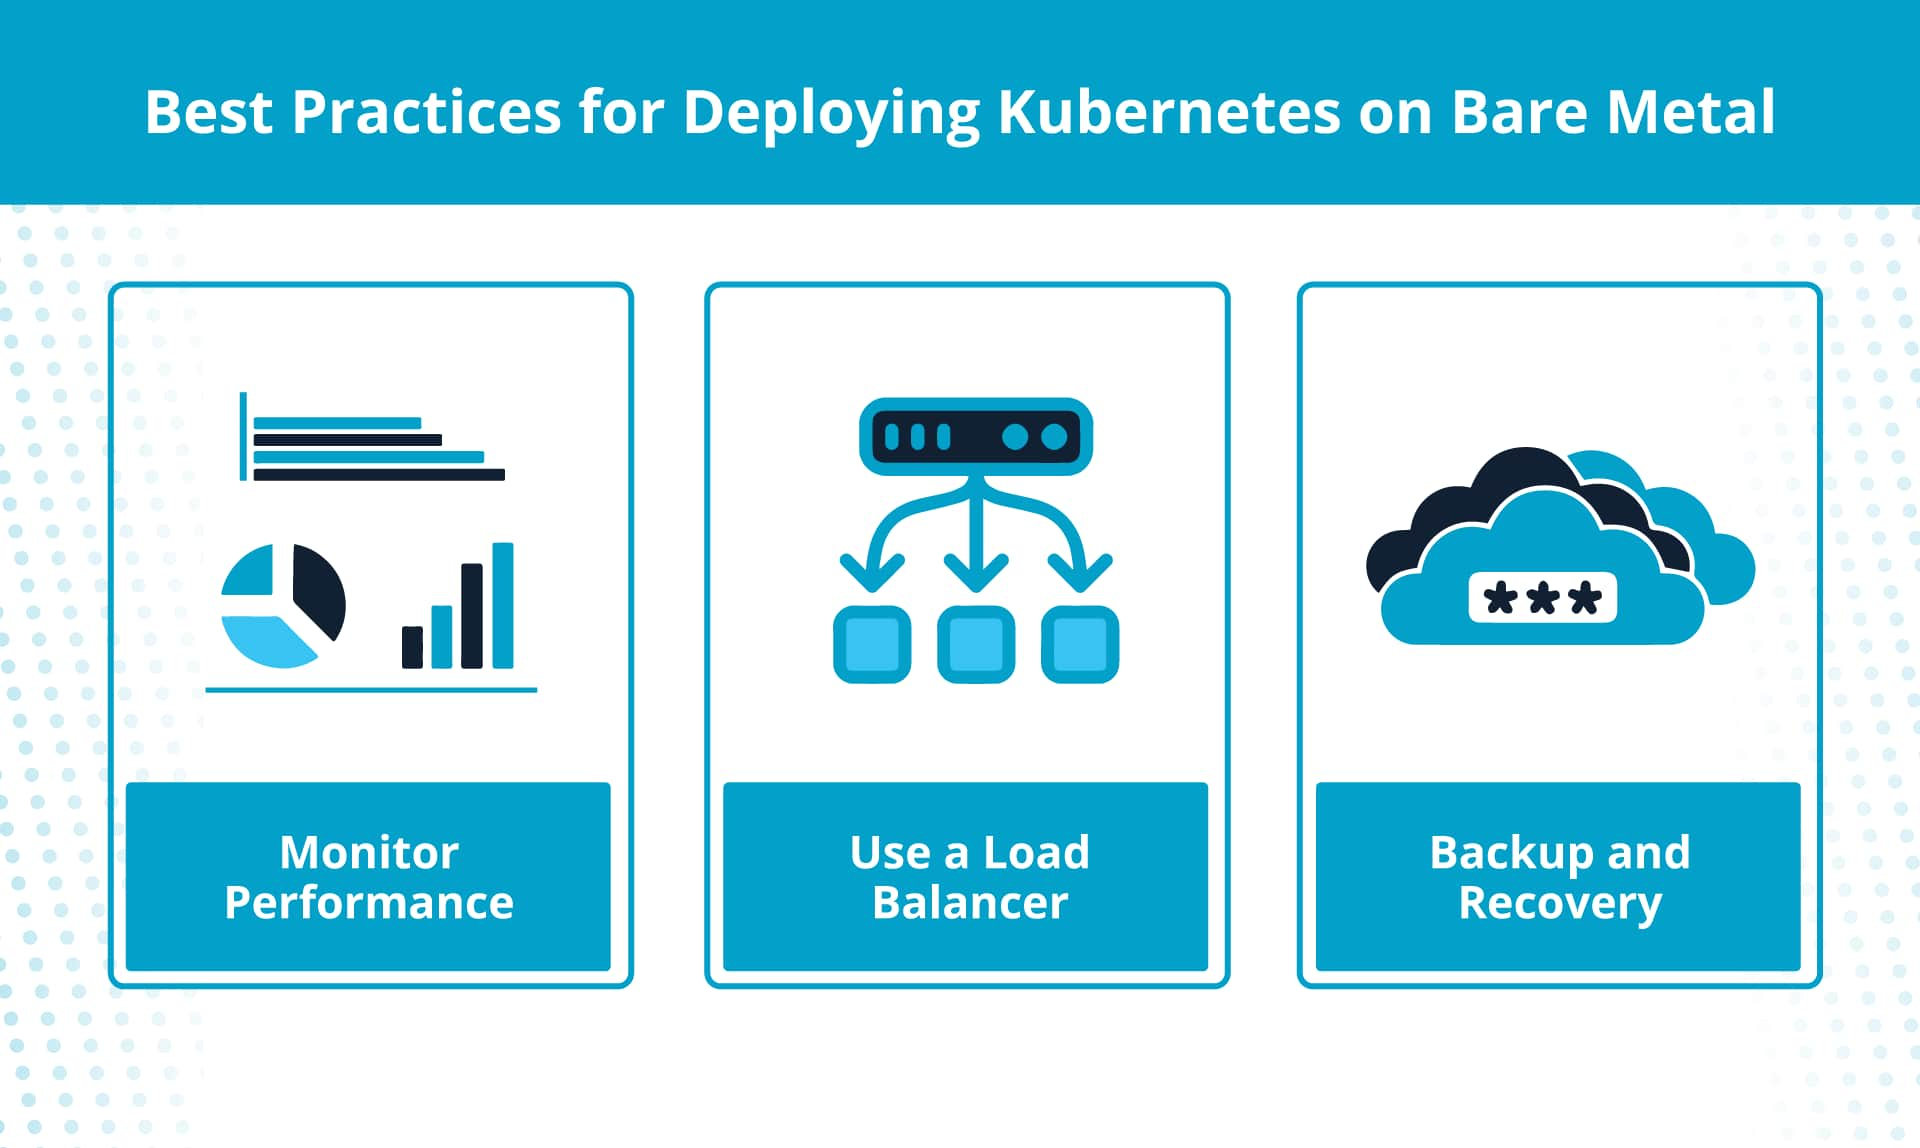
By setting up a bare metal Kubernetes cluster, you can bypass many of the struggles you might be having with virtualization technology. That said, to ensure you start off on the right foot, stick with the following best practices.
Monitor performance
Track the performance and health of the Kubernetes cluster to identify issues, optimize resource allocation, and avoid sudden failures.
In particular, monitor CPU, memory, and storage usage across the nodes to identify potential bottlenecks. Besides that, configure notifications when certain thresholds are exceeded so you can avoid unexpected shutdowns.
Use a load balancer
If you’re using multiple master nodes in your configuration, set up a load balancer to distribute traffic among them to ensure high availability. A load balancer distributes the incoming requests among the available nodes to prevent a single point of failure.
Backup and recovery
Accidents can happen even with all the precautions. So, ensure you have a recovery solution for critical data.
Typically, you can rely on etcd snapshots to restore the Kubernetes to the last good state. Besides that, consider storing the backups in alternative storage locations to reduce the risk of data loss due to hardware failure.

While bare metal Kubernetes offers several advantages, you must also consider a couple of challenges associated with deployment:
- Technically intensive: A bare metal Kubernetes needs hands-on involvement from the IT team compared to VM-based Kubernetes. Your IT team will need to handle hardware provisioning, networking configuration, and workload optimization manually.
- Absence of image-based backups: Unlike with VMs, you don’t have snapshots or images to facilitate backup and recovery operations. Instead, you must rely on application-level backups to ensure disaster recovery.
- Susceptible to dode failure: In bare metal Kubernetes, each node is a separate physical machine. So, if a node fails due to operating system (OS) issues, all the hosted containers come to a stop, as well.
By configuring Kubernetes on a bare metal server, you can get direct access to hardware resources, reduced latency, and lower costs. So, if you’re developing an application with high performance requirements, running Kubernetes on bare metal is a great way to start off the process.
That said, it also means a lot of burdens on the IT team in terms of management, resource allocation, and maintenance. So, consider VM-based machines, as well, if you have a small IT team.
Whatever your choice, opt for a supportive hosting provider like Liquid Web for your bare metal or cloud metal needs to ensure you have external support to lean on if an issue arises.


